Nailed It!!
Nailed It!!
Last week I blogged about my mistakes. This week I didn’t want to be such a Debbie-downer. So, I’ve decided to talk a bit about what I do get right pretty much every time and how you can achieve such confidence as well.
The infamous, illustrious 1/4 ” seam
Every quilter needs to have a solid 1/4″ seam. Without it, all sorts of bad things can happen. Too big and your seams won’t line up, blocks will be too small, too much bulk where seams do line up, and you’ll wear out your seam ripper (I don’t know if you can really wear those things out, but it’s your best friend so don’t abuse it). You might not even realize it until you have everything sewn. Too small and your seams won’t have the structural integrity they need, tops could fall apart in handling or laundering, and again, seams won’t line up and blocks will be too big. For the most part, this is easier to deal with. You can usually just sew again and take a bigger bite without many bad effects. The first thing you need to realize, is that you don’t sew at 1/4″. You loose a hair due to the thread and fold. So, you need a SCANT 1/4″ seam.
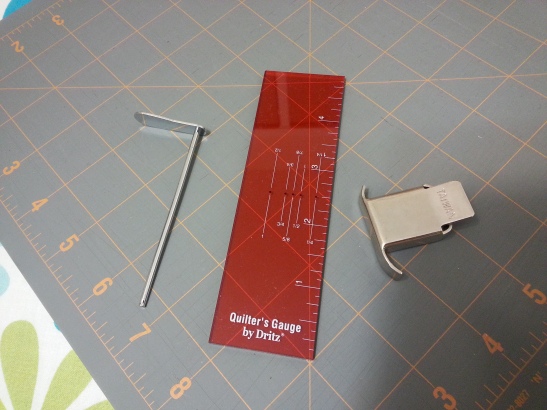
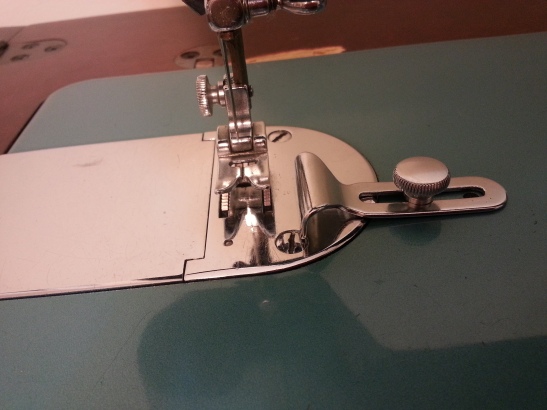
To master the 1/4″ seam, what I did was, basically, locate a point of reference on my machine or foot and use that as a visual guide. Many people use a stack of post it notes, piece of masking tape, or one of the many products that you can purchase that will do the same thing. Some machines have a spot where you can screw in a guide to set your seam allowance. I have tried all of these methods, and they do work. I once bought a quarter inch foot with a built I guide. I used it for a while when I figured out that it wasn’t a true 1/4″ seam. I ended up pulling off the guide, but I still didn’t like that only half of my feed dogs were grabbing the material. My awesome husband bought me a new machine for Christmas and I found that it has a setting to move the needle over to he right a bit for quilt piecing.
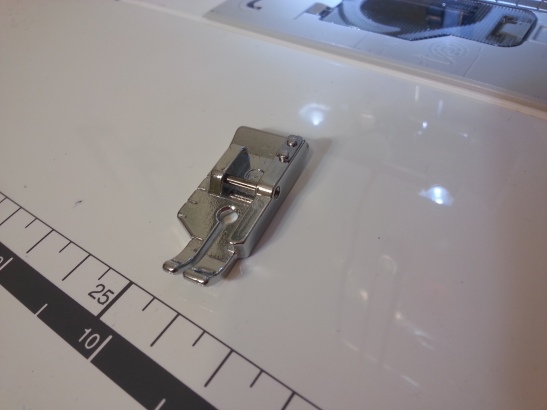
My quarter inch foot sans the guide. I just bent it back and forth until it popped off. I still found myself using the visual point of reference.
However, I find myself switching between seam sizes (intentionally), top-stitching, or quilting, so I end up constantly removing the guide and having to re-set it. It just got time consuming and annoying and I just wanted to get into the sewing part. I figured, I’m looking at the foot anyway, I’ll just use a visual reference point to align my material. I didn’t actually invent this method for finding the seam. I saw it on Fons and Porter’s Love of Quilting. But it is incredibly effective.
This is the method I use to locate the correct location
Cut two pieces of fabric at 2.25″ x 4″. Precision in cutting the 2.25″ is imperative on this (the 4″ measurement is not so important). If you cut wrong, it doesn’t matter how accurate you sew. The finished measurement will be off.  A lot of newer machines have a setting that is for quilt piecing. I didn’t even know that until recently. It is designed so that you can use the foot that came with your machine and the material will be pulled evenly by all of the feed dogs.
  Then, pick a visual point of reference on your machine, preferably near your foot, and sew what you think is a 1/4″. I use a point a hair’s width just inside of the right edge of my foot. Given where I sit on the machine and the angle I am looking at it, I actually line up the edge of the material with the very front, right corner of the foot. This works for me, but always check since you might sit at a different angle that I do (gotta love applied geometry).
 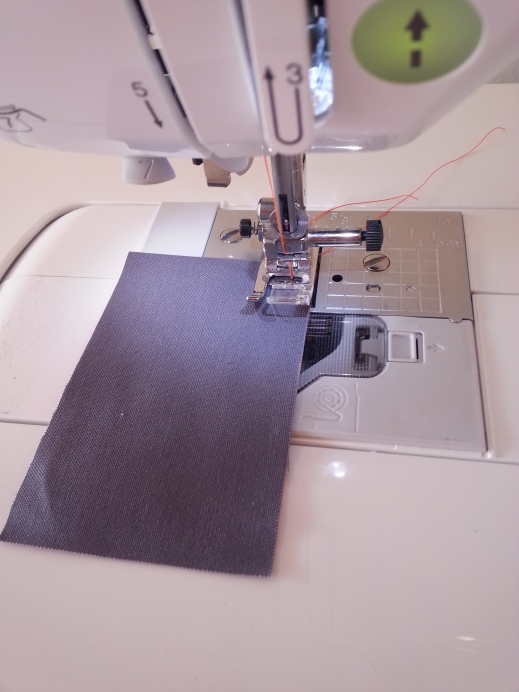 Feeling confident? Finger press your seam open. Lay out the material on your table and use your acrylic ruler to measure. This helps it lay flat without warping it. If your seam is correct, it should measure 4″ exactly. If not, adjust your guide and try again. DON’T JUST WING IT. If your seam doesn’t come out right, do it again until it does. Get that point of reference. It may take some time now and be a little frustrating, but believe me, you will be much more frustrated later when you have 50 blocks sewn and find out that none of them line up correctly.
 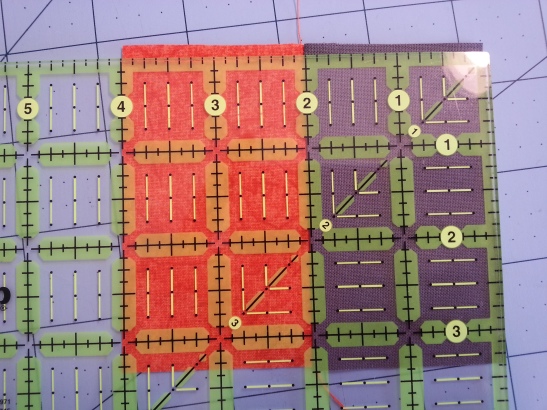 This is one of those things where practice makes perfect and they’re is no real shortcut. I recommend strip sets. There are so many quilt designs that use them and they are great for practicing sewing long, straight, consistent seams without having to start and stop all the time. Once you feel comfortable, work on some four patch or nine patch blocks. They give you a chance to sew a lot of seams while re-setting your start each time. Plus, especially with the nine patch, you can know rather quickly is your guide is off without a lot of time spent on it, because your finished block won’t measure correctly.
Again, cutting accurately is critical to knowing how accurate your seam is. Any suggestions of your own? Feel free to comment.


So how wide do I make my fabric????
“Cut two pieces of fabric at 2.25″ x 4″. Precision in cutting the 2.5″ is imperative on this (the 4″ measurement is not so important).”
If I am to be precise, which measurement should be used?
Hi Syl, I am so glad you posted this question. The measurement is 2.5″. I have corrected the typo in the post to eliminate the confusion. I hope this helps you.
Wow, I messed up again. That’s what I get for doing too many things at a time. The measurement is 2.25. NOT 2.5